Project Description:
Throughout this project we were given the opportunity to design and create a stamp. We were also allowed to do multiple prints and use various techniques for our prints. This project overall was an introduction to printmaking, we learned that Printmaking is the process of making artworks by printing on paper (but you do not have to restrict yourself to paper). We all created a Relief print and we used a soft block to carve out our design. We were allowed to use any design as long as the design we chose represented us in some way.
Process:
We began this printmaking process by looking a different examples of prints and taking different features from each one so we could incorporate them into our print. After that we designed a first draft and a second draft in which we received critique from our peers so we could make a good final draft. Next I went to find an Image that I could photoshop and transfer onto my block. When I found the image I edited it so I could transfer it onto my block (steps are in the project description). Once I was ready to transfer my image onto my block I used Mod Podge technique, which consisted of first laying my Image (printed) on top of the block then putting a layer of Mod Podge over it then waiting for it to dry. Once the Mod Podge dried I grabbed a wet sponge and scrubbed off the paper and only my design remained. After that we were given multiple carving tools, I personally used the thinnest one because I carved out the (black) lines. After we were done with the carving we got the proof paper so we could make our first proofs. We did the proofs so we could learn how to use the different print tools and overall learn how to print. We started off by putting some block printing ink onto the plexi glass and using a brayer to roll out the ink. Then we would roll the brayer onto the stamp then flip it over onto the paper to stamp it. After we were done with the proofs we were allowed to move onto our final prints, we used the final paper to print our final prints. Also throughout our printing we had to use two different techniques Chine Collé- colored paper technique and A la Poupée- hand coloring technique.
Techniques:
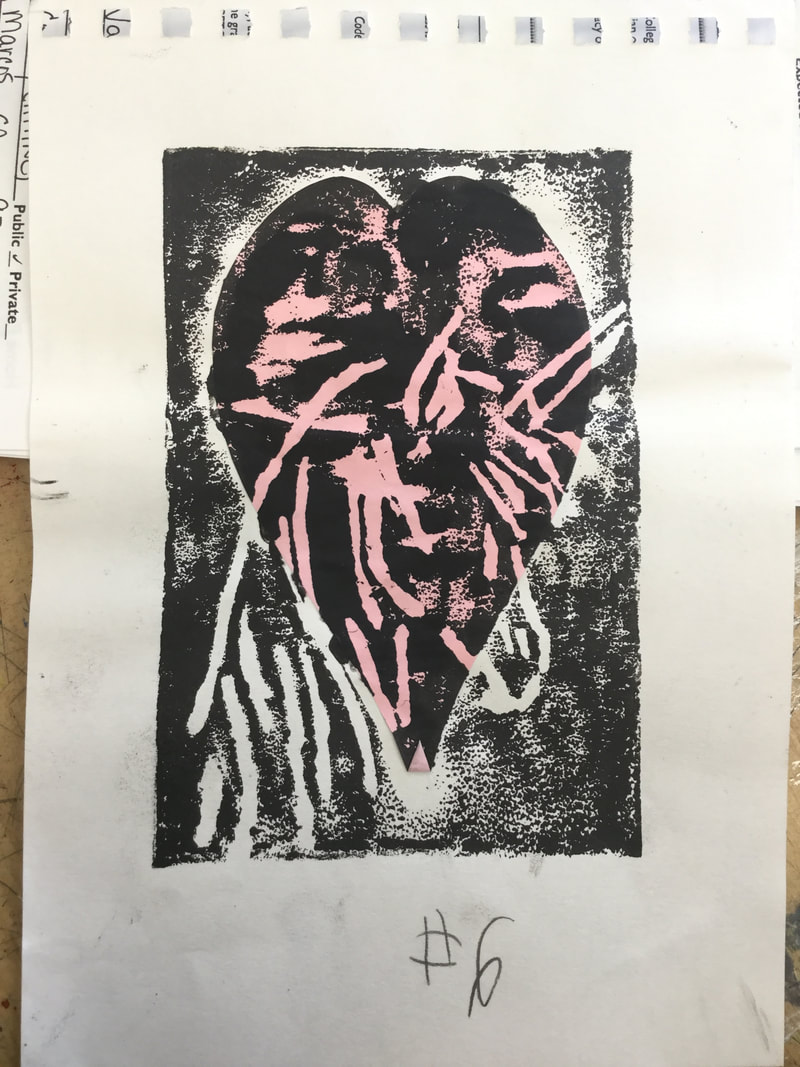
Chine Collé- colored paper technique
|
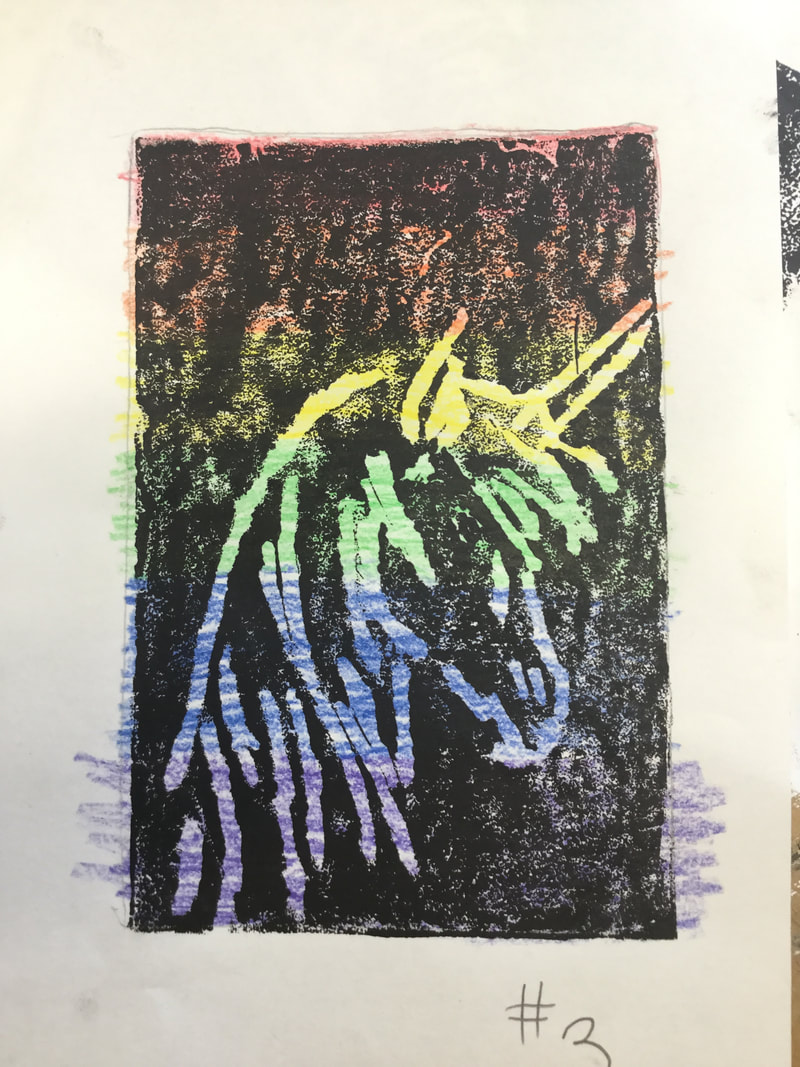
A la Poupée- hand coloring technique
|
Final Prints:
|
|
Artist Statement:
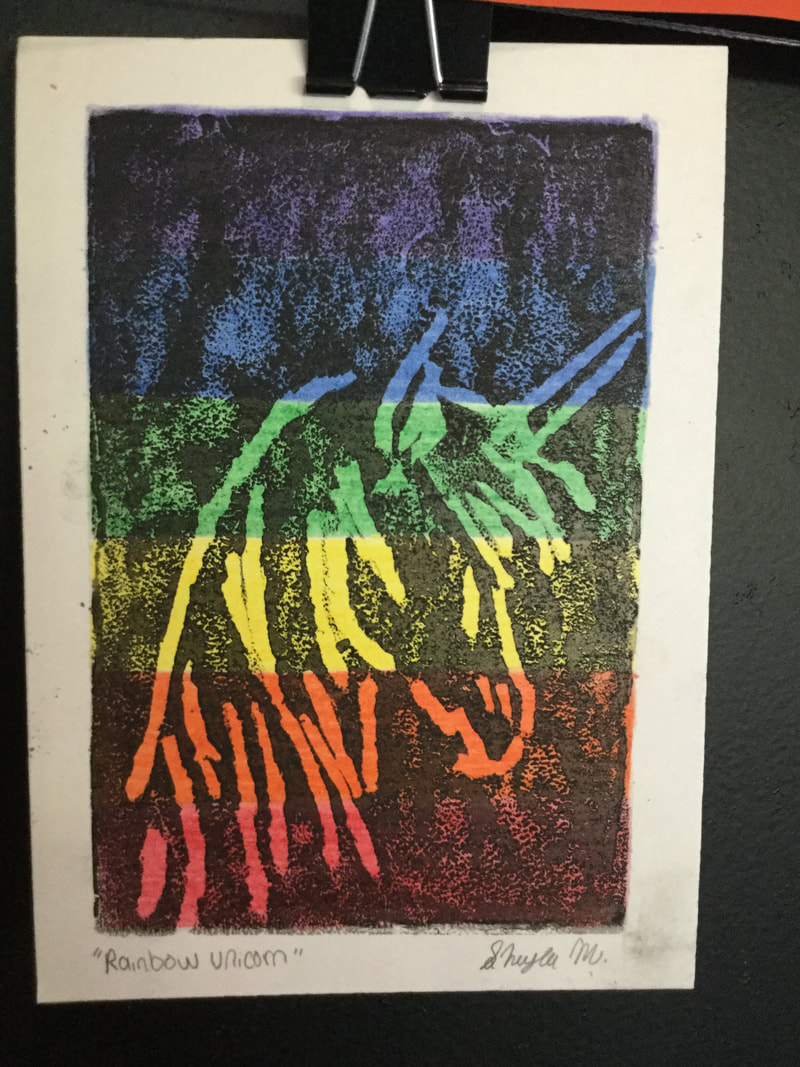
Rainbow Unicorn
By Sheyla Medina
Subject Matter:
This print represents the magical unicorn, which is known for being a mythical creature. When I look at a unicorn I think of magic and pretty much believe anything is possible. The unicorn overall reminds me of rainbows and magic which is calming.
Symbolism:
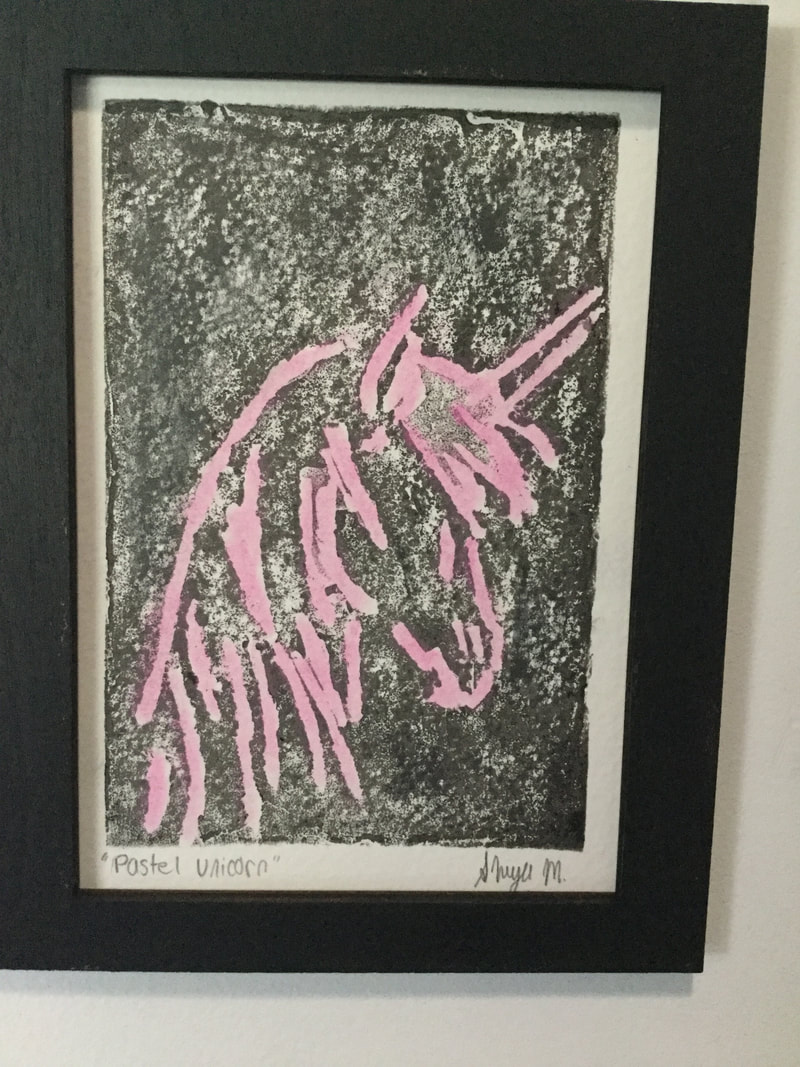
I wanted to choose an image that would let me capture the delicacy of the unicorn. I transmited that by having my unicron be formed by soft lines that did not really connect. Those lines really gave it a flow like feel to my piece. I chose to use bold bright colors because I wanted my unicron to stand out by making the background pop.
Design and Techniques:
To create the design of block I used Photoshop and to transfer it onto my block I used the transfering technique our teacher showed us. I made my design on Photoshop by taking these steps, resizing the image, turning it into a black and white photo, and flipping the image. I carved out the lines in my image (so the black lines). When creating one of my final draft I used color pencil to make a rainbow background on my printing paper so when I printed my stamp you would be able to see a rainbow background behind it. When creating my second and last draft I just stamped it on a regular paper.
By Sheyla Medina
Subject Matter:
This print represents the magical unicorn, which is known for being a mythical creature. When I look at a unicorn I think of magic and pretty much believe anything is possible. The unicorn overall reminds me of rainbows and magic which is calming.
Symbolism:
I wanted to choose an image that would let me capture the delicacy of the unicorn. I transmited that by having my unicron be formed by soft lines that did not really connect. Those lines really gave it a flow like feel to my piece. I chose to use bold bright colors because I wanted my unicron to stand out by making the background pop.
Design and Techniques:
To create the design of block I used Photoshop and to transfer it onto my block I used the transfering technique our teacher showed us. I made my design on Photoshop by taking these steps, resizing the image, turning it into a black and white photo, and flipping the image. I carved out the lines in my image (so the black lines). When creating one of my final draft I used color pencil to make a rainbow background on my printing paper so when I printed my stamp you would be able to see a rainbow background behind it. When creating my second and last draft I just stamped it on a regular paper.
